This guide walks you through the complete process of creating, configuring, and generating an AI-moderated user research study in Userology. From naming your study to testing the participant experience, you'll learn how to set up a professional research study in minutes.
Overview of the Study Creation Flow
Creating a study in Userology involves six key phases:
Study Initialization — Name your study from the dashboard.
Method Selection — Choose your research methodology (Prototype Testing, Live Product Research, Voice Interview, or Concept Testing).
AI Context & Configuration — Define objectives, add product assets, and describe your target persona.
AI Generation & Review — Let the AI craft your interview scope and review the proposed structure.
Interview Plan Editor — Refine the AI-generated discussion guide.
Simulation — Test the participant experience before launching using the preview session feature.
Each phase is designed to help you create a seamless and effective research experience for your participants. Below, we provide a detailed guide for each step.
Phase 1: Study Initialization
Step 1: Name Your Study
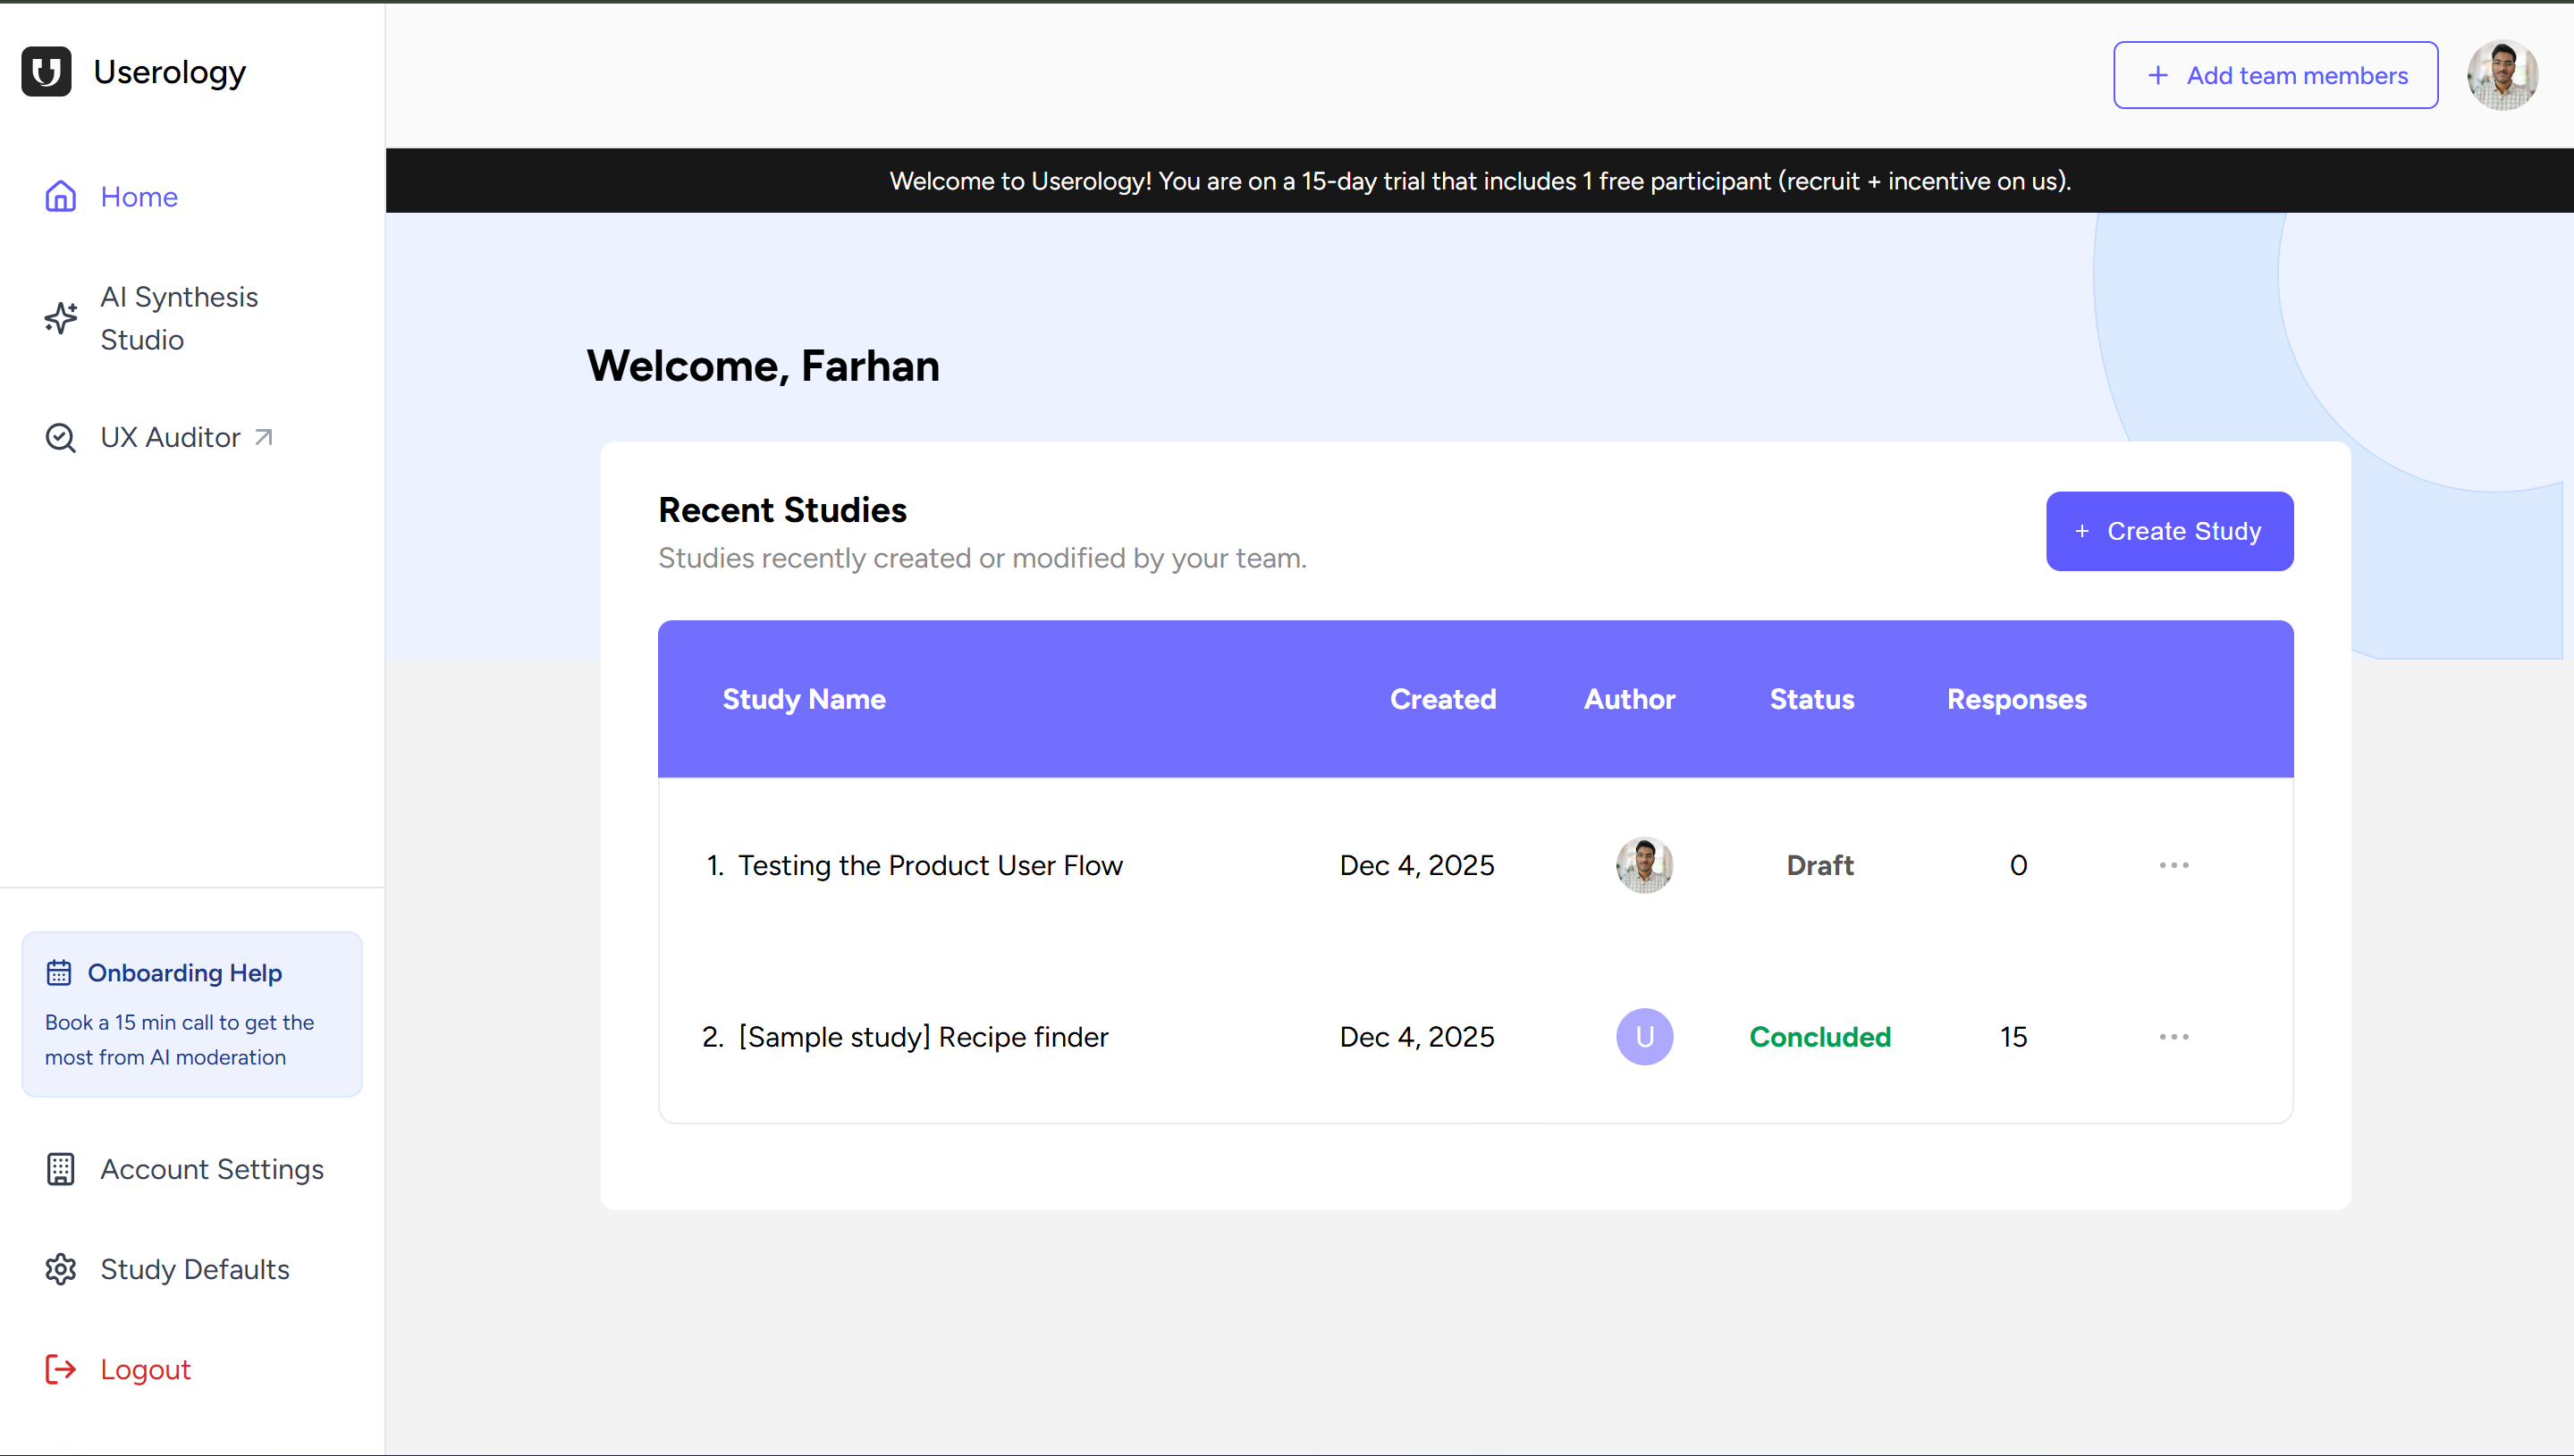
From the Userology Dashboard, navigate to the "Home" or "Recent Studies" view and click the + Create Study button.
Enter a descriptive name in the "Study name" field (e.g., "Testing the Product User Flow").
Important: The UI explicitly states "This name is not visible to participants" — so feel free to use internal project names or codes that make sense to your team.
Click Next to proceed.
Phase 2: Method Selection
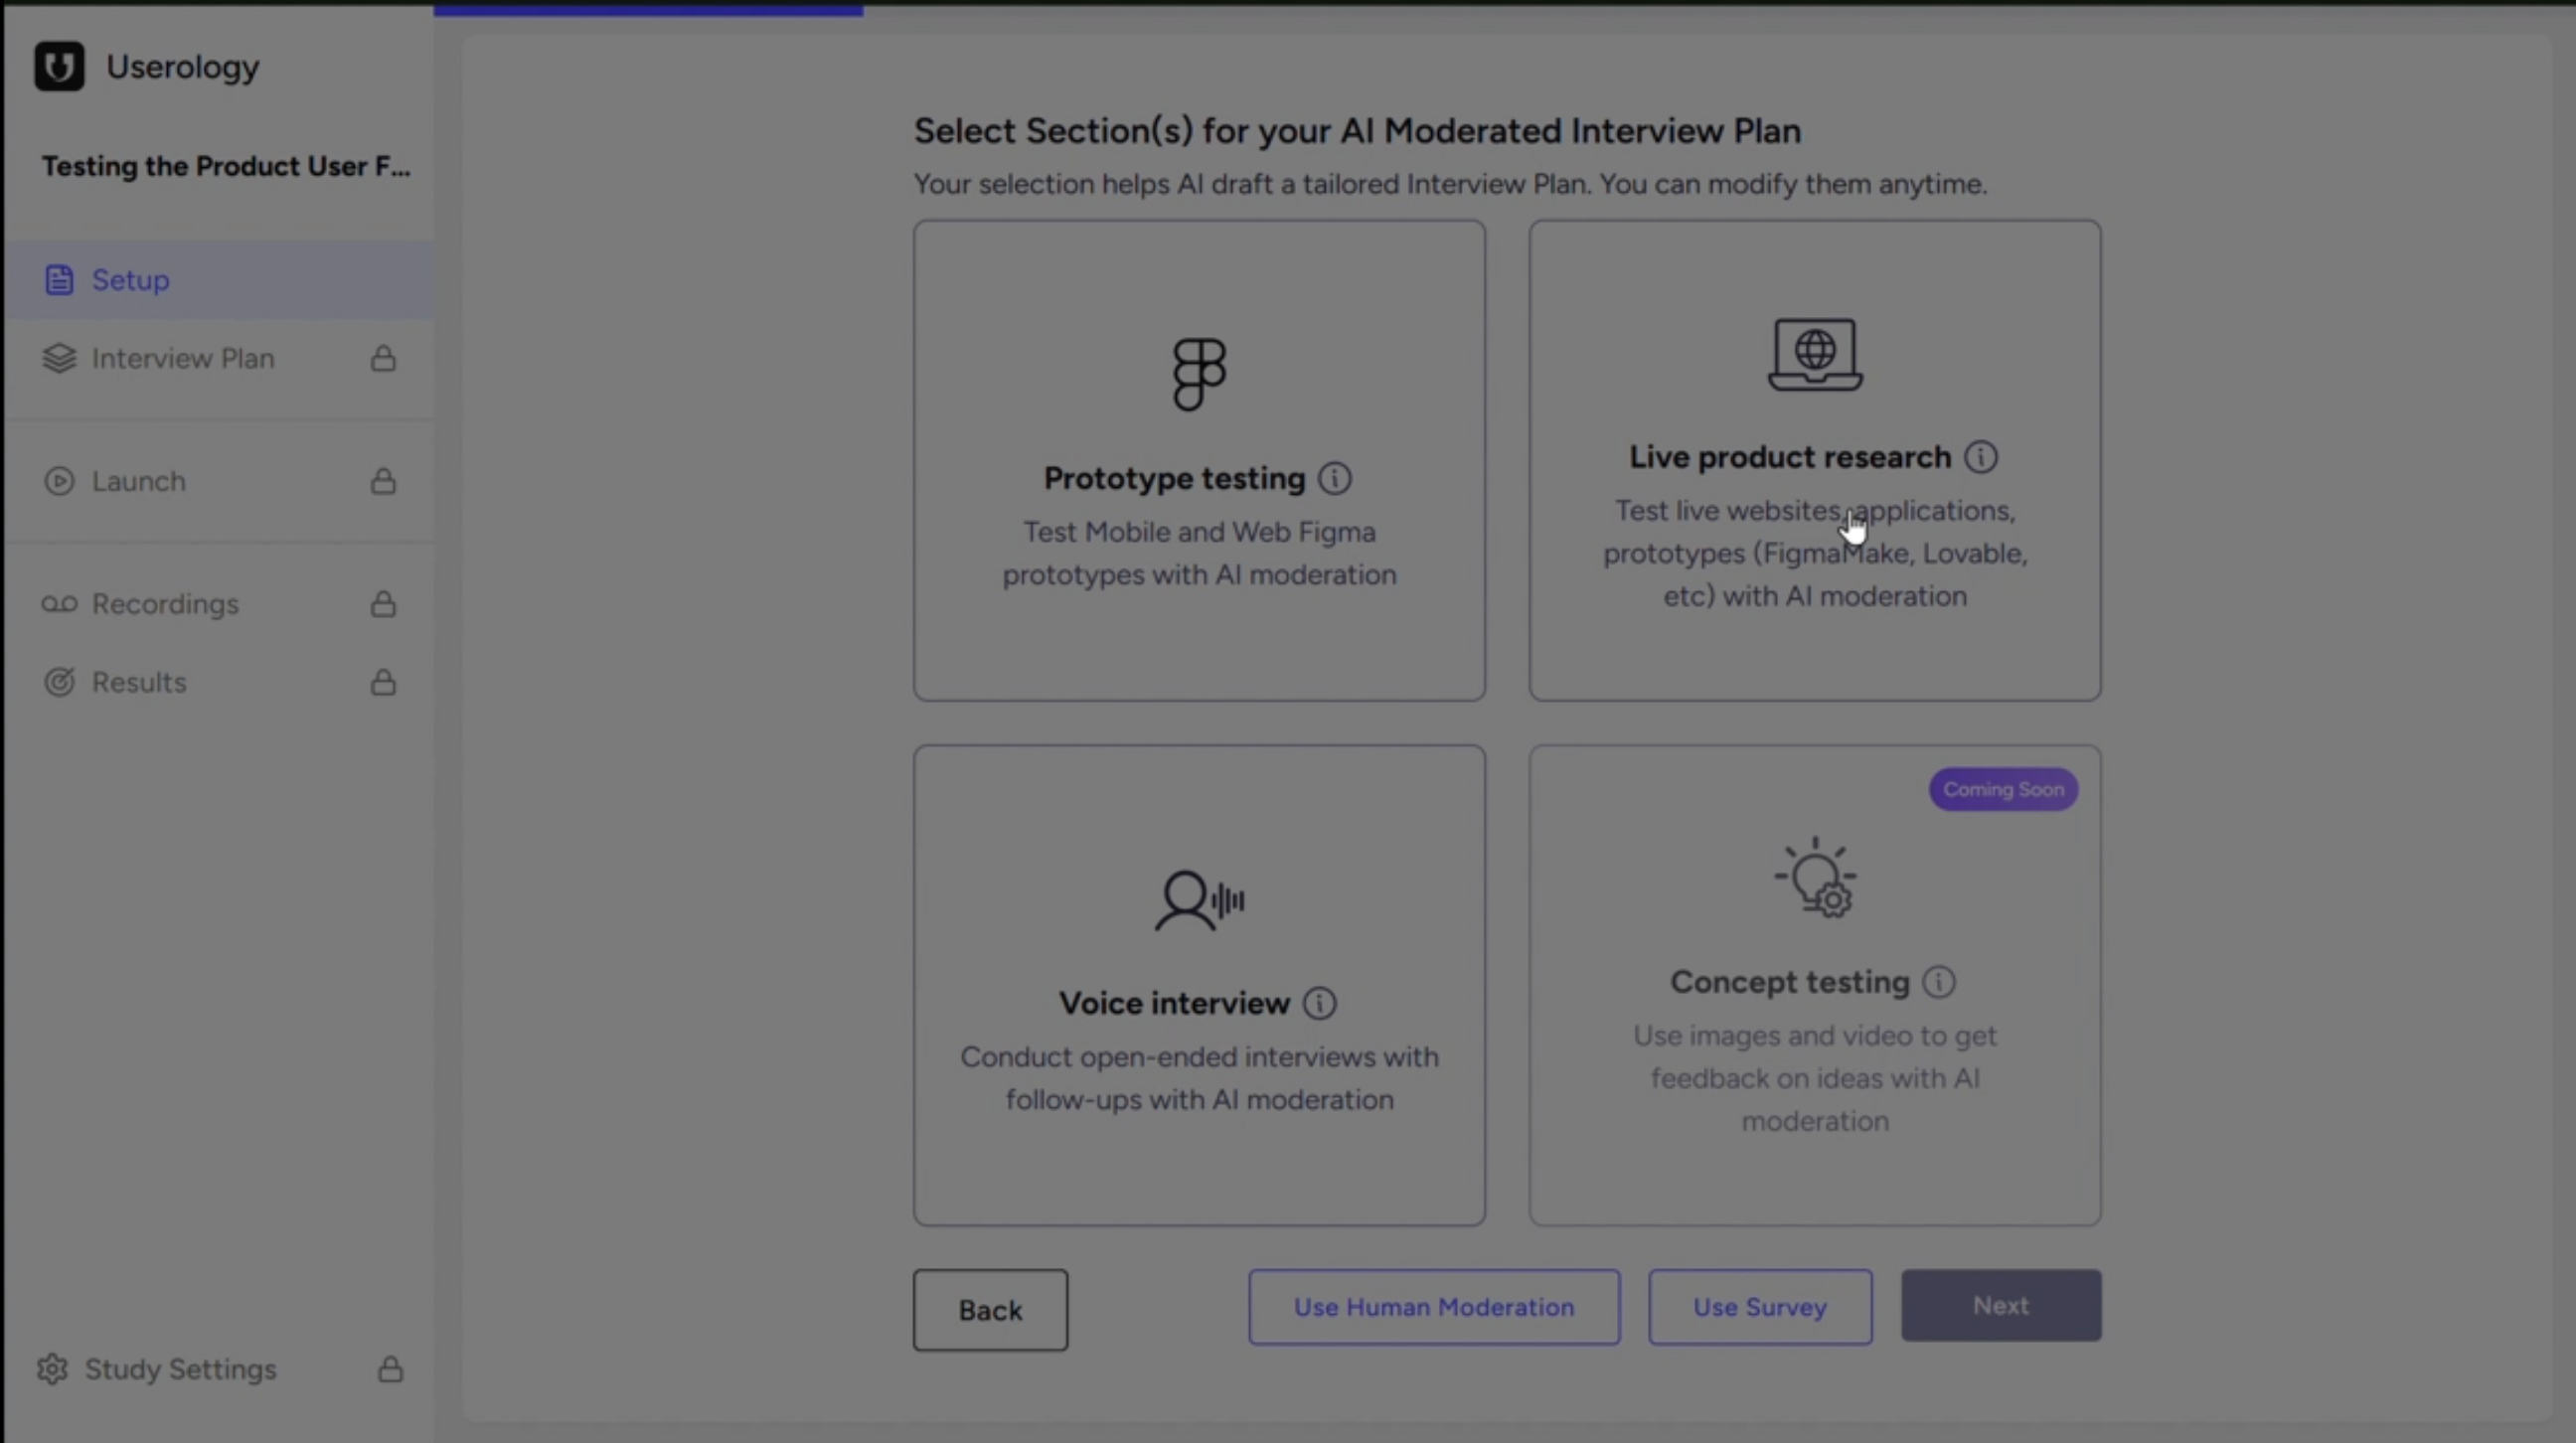
Step 2: Select Research Section(s)
You'll be presented with four methodology cards to build your "AI Moderated Interview Plan":
Prototype Testing — Test Mobile and Web Figma prototypes with AI moderation.
Live Product Research — Test live websites, applications, etc. with AI moderation. (Selected in this walkthrough)
Voice Interview — Conduct open-ended interviews with follow-ups with AI moderation.
Concept Testing — Use images and video to get feedback on ideas. (Labelled: Coming Soon)
Alternative Option: A text link at the bottom offers "Use Human Moderation" if you prefer to conduct traditional moderated sessions instead of AI-moderated interviews.
Select a card (e.g., Live Product Research) and click Next.
Phase 3: AI Context & Configuration
This phase is where you provide the AI with the context it needs to craft an effective research plan. The more detail you provide here, the better your AI-generated interview guide will be.
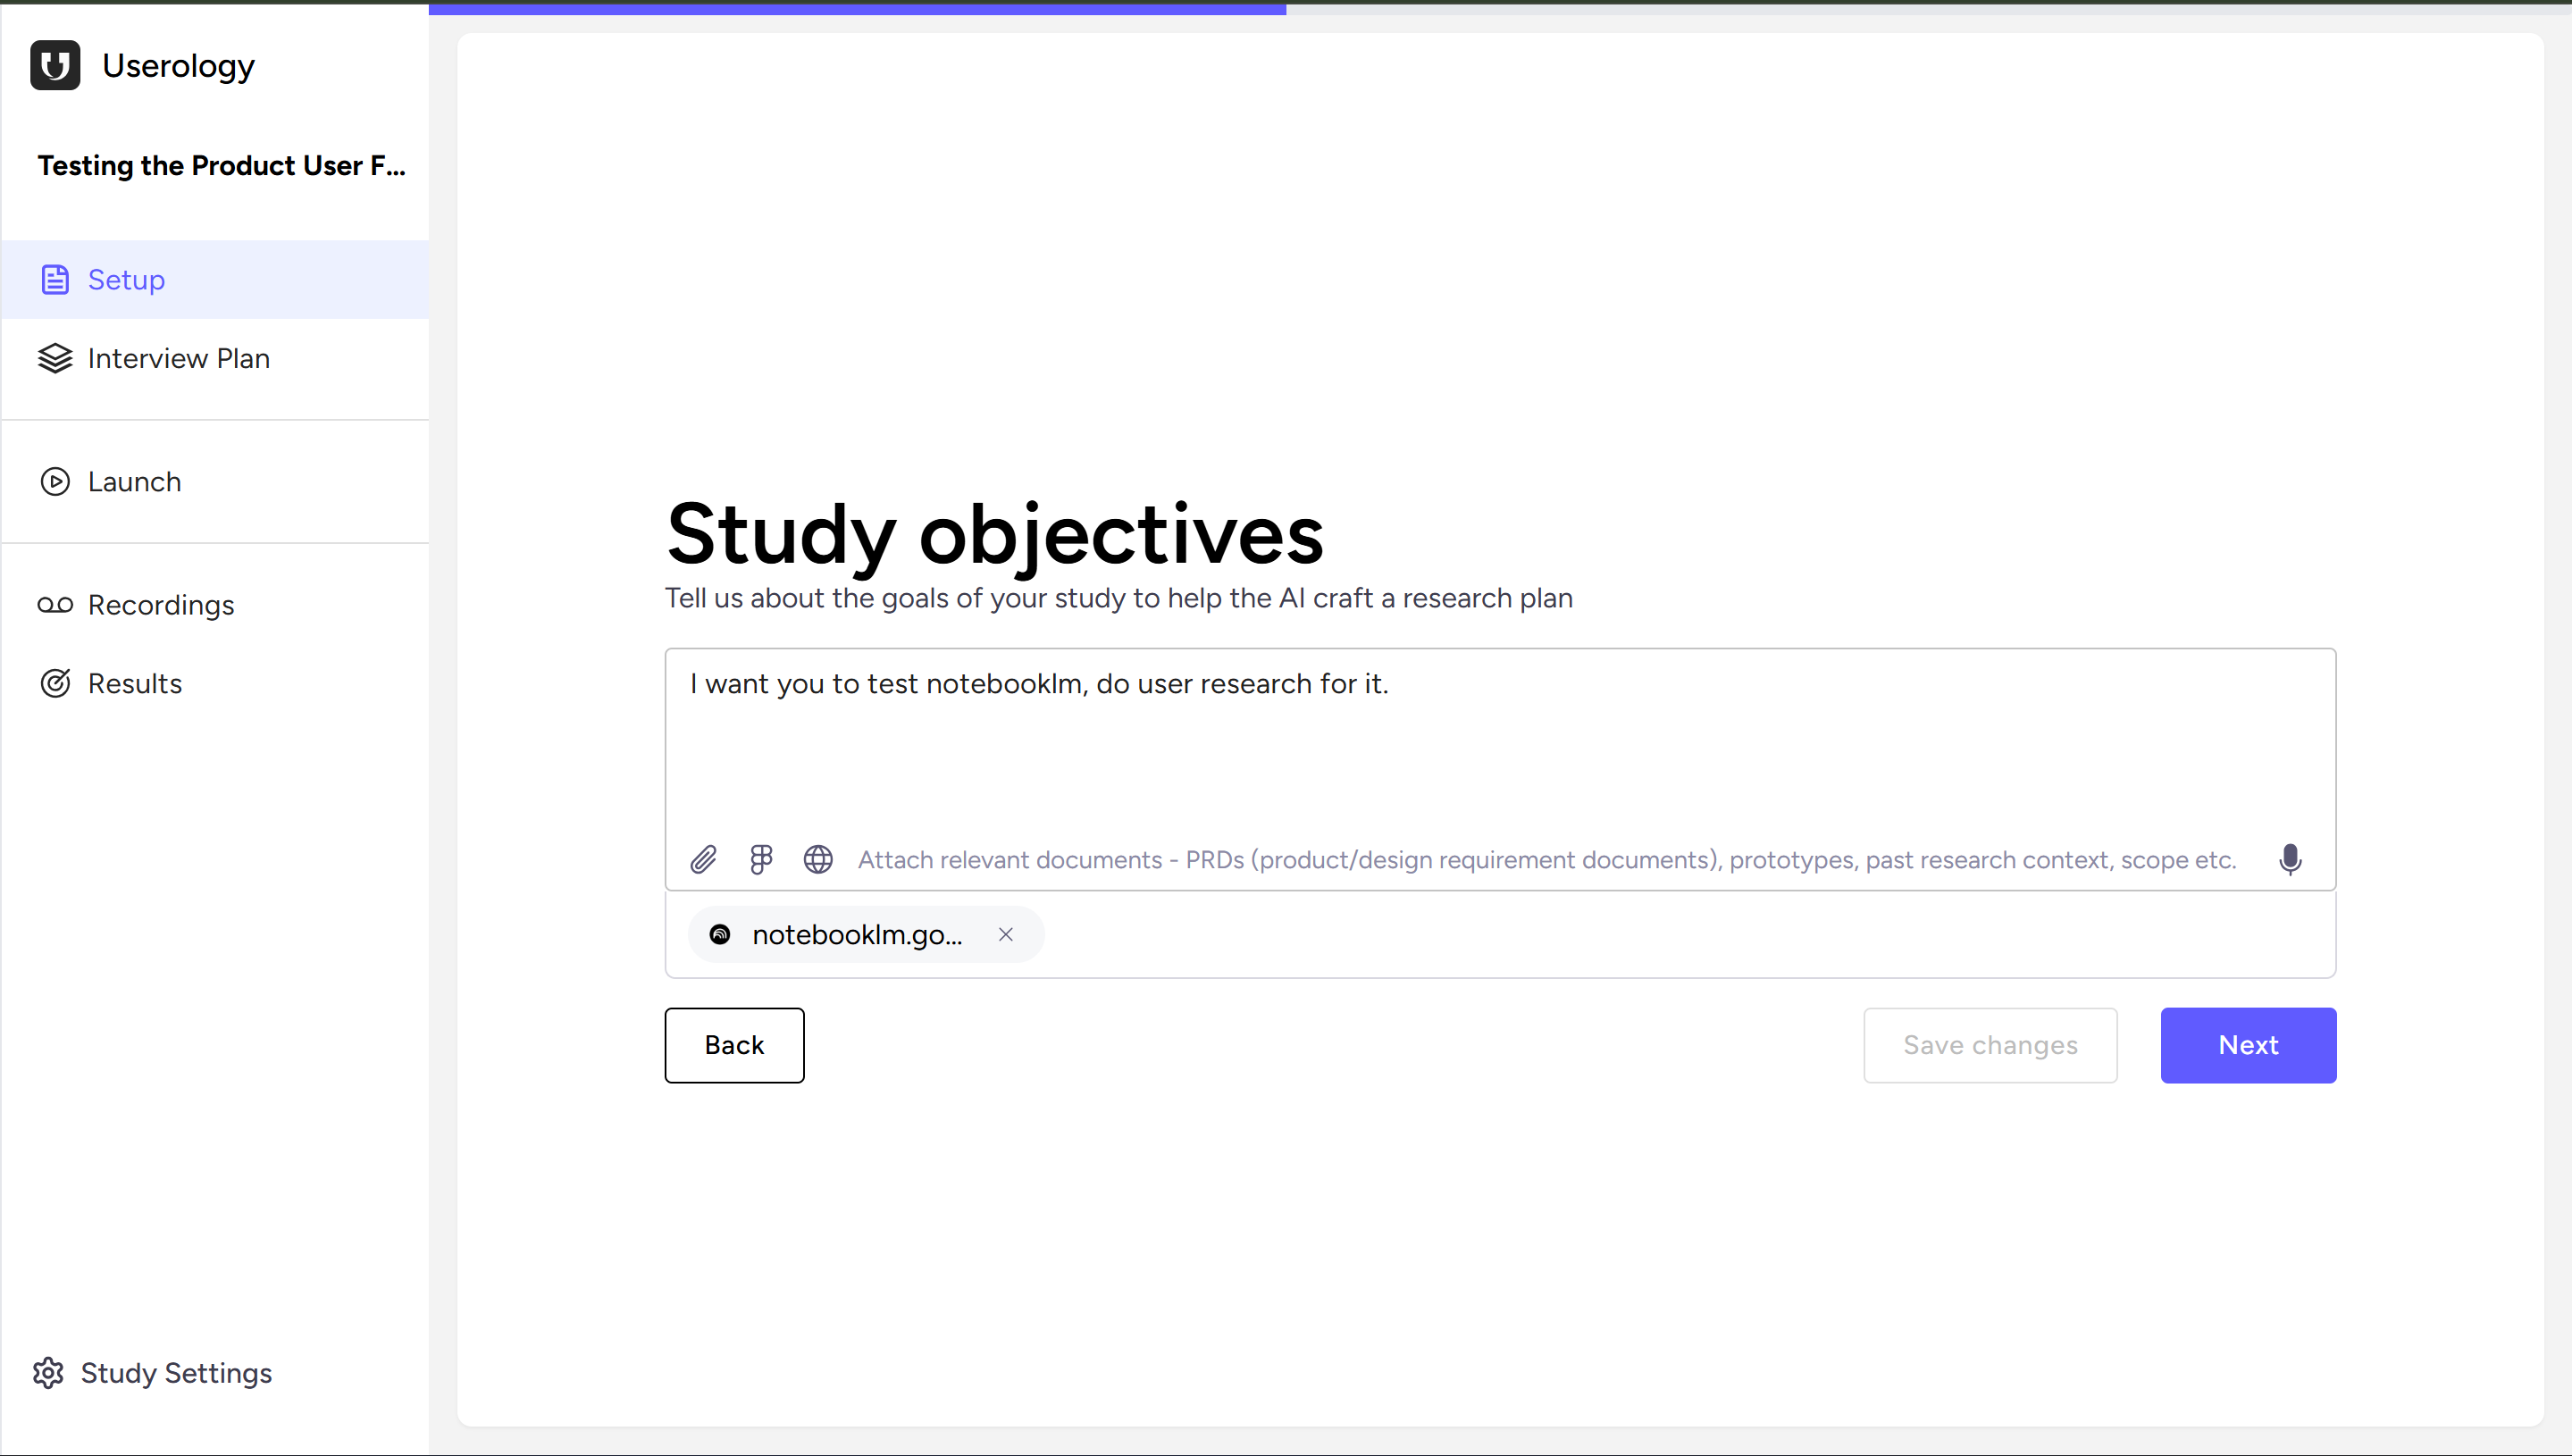
Step 3: Define Study Objectives
Purpose: You input your research goals here to help the AI craft your research plan.
Enter your objectives in the text field. Be specific about what you want to learn from participants.
Example: "I want you to test notebooklm, do user research for it"
Input Features:
Attachment Icon — Users can attach relevant documents such as PRDs, design requirements, or past research findings to give the AI more context.
Microphone Icon — Option to dictate your objectives via voice input for faster entry.
Click Next to continue.
Step 4: Add Product Assets
Note: This step appears because you selected "Live Product Research" in Step 2.
You'll see a field labelled "Add your product URL here".
Action: Paste the target URL you want participants to test (e.g.,
https://notebooklm.google/).Delete: Use the trash icon to remove a link if you made a mistake.
Add More: Click the + Add another link button to test multiple URLs in the same study.
Click Continue to proceed.
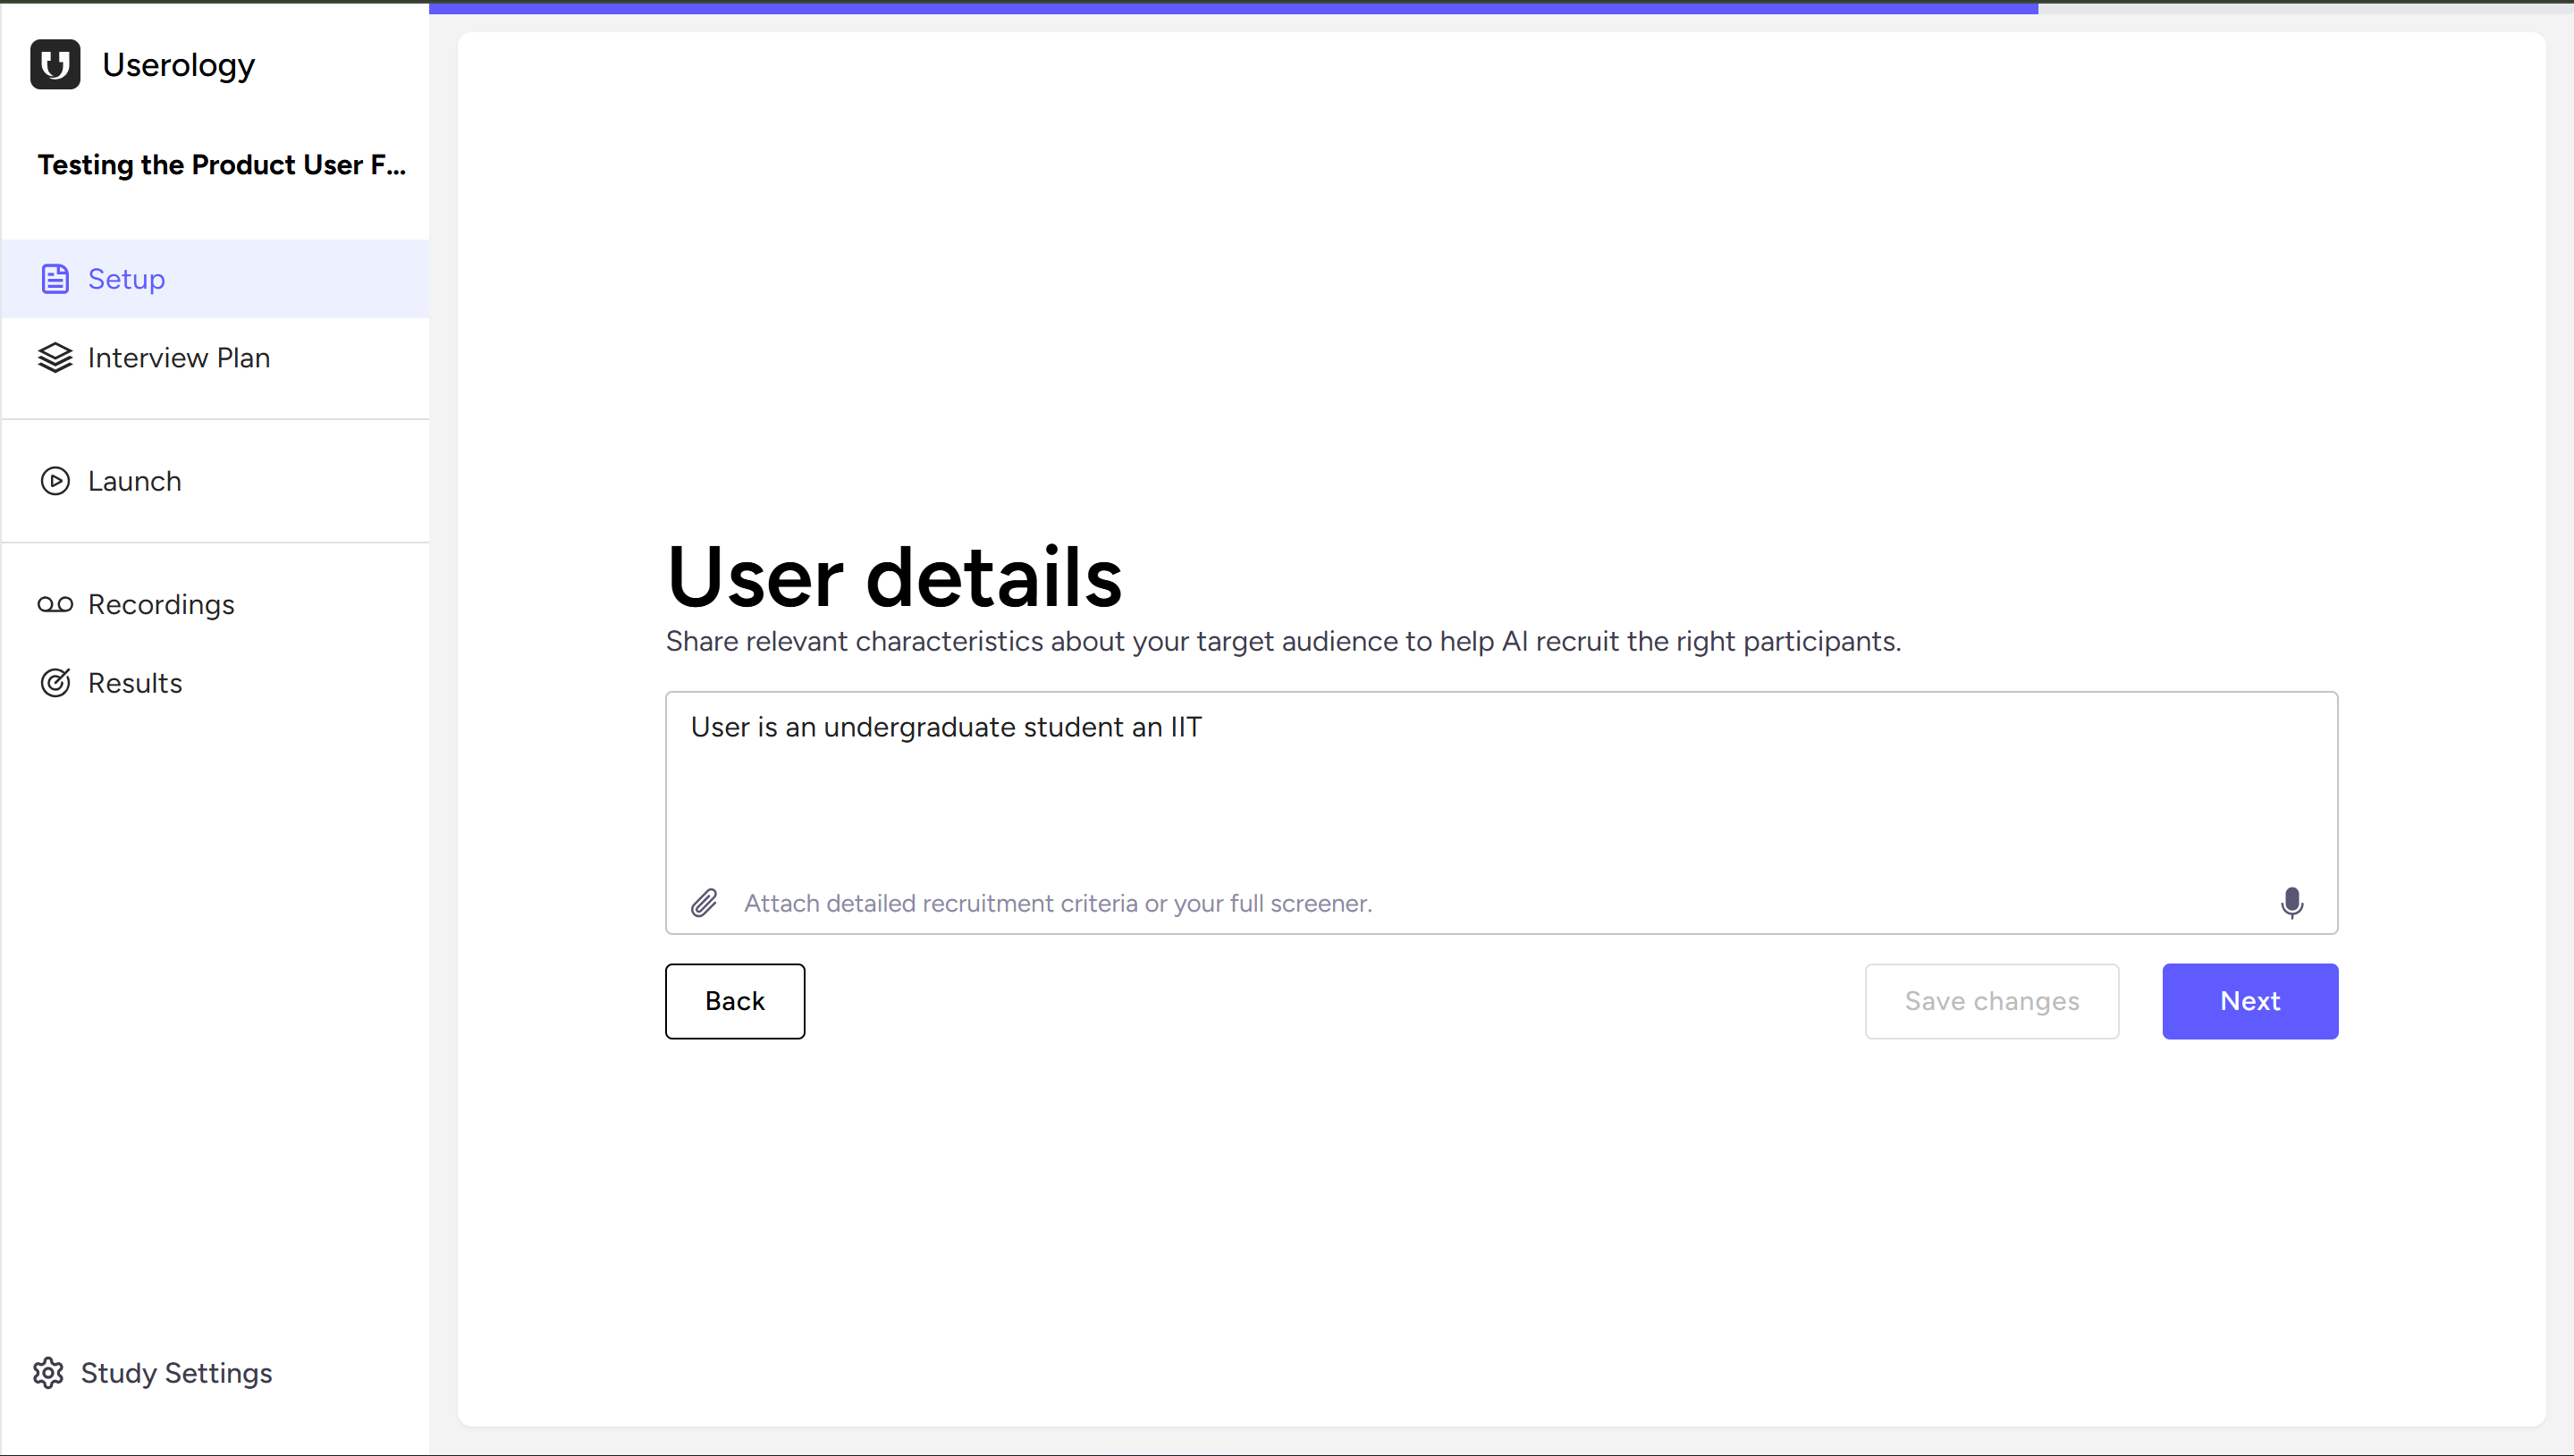
Step 5: Define User Persona
Describe your target audience characteristics in the text field. This helps the AI tailor the research questions and approach to your specific user segment.
Example: "User is an undergraduate student at IIT"
Feature: Look for the paperclip icon with the text "Attach detailed recruitment criteria or upload your screener" — this allows you to upload persona documents directly for more detailed targeting.
Click Generate Interview Scope to let the AI craft your research plan.
Phase 4: AI Generation & Review
AI Processing State
After clicking "Generate Interview Scope", the system displays "AI is crafting your Interview Scope" while it processes your inputs.
Transparency: You can watch the "AI Thinking" logs in real-time to see exactly what the AI is doing:
Classifying Study Type
Assessing Research Depth
Identifying Research Themes
This transparency helps you understand how the AI interprets your objectives and crafts the research structure.
Step 6: Review Interview Plan Scope
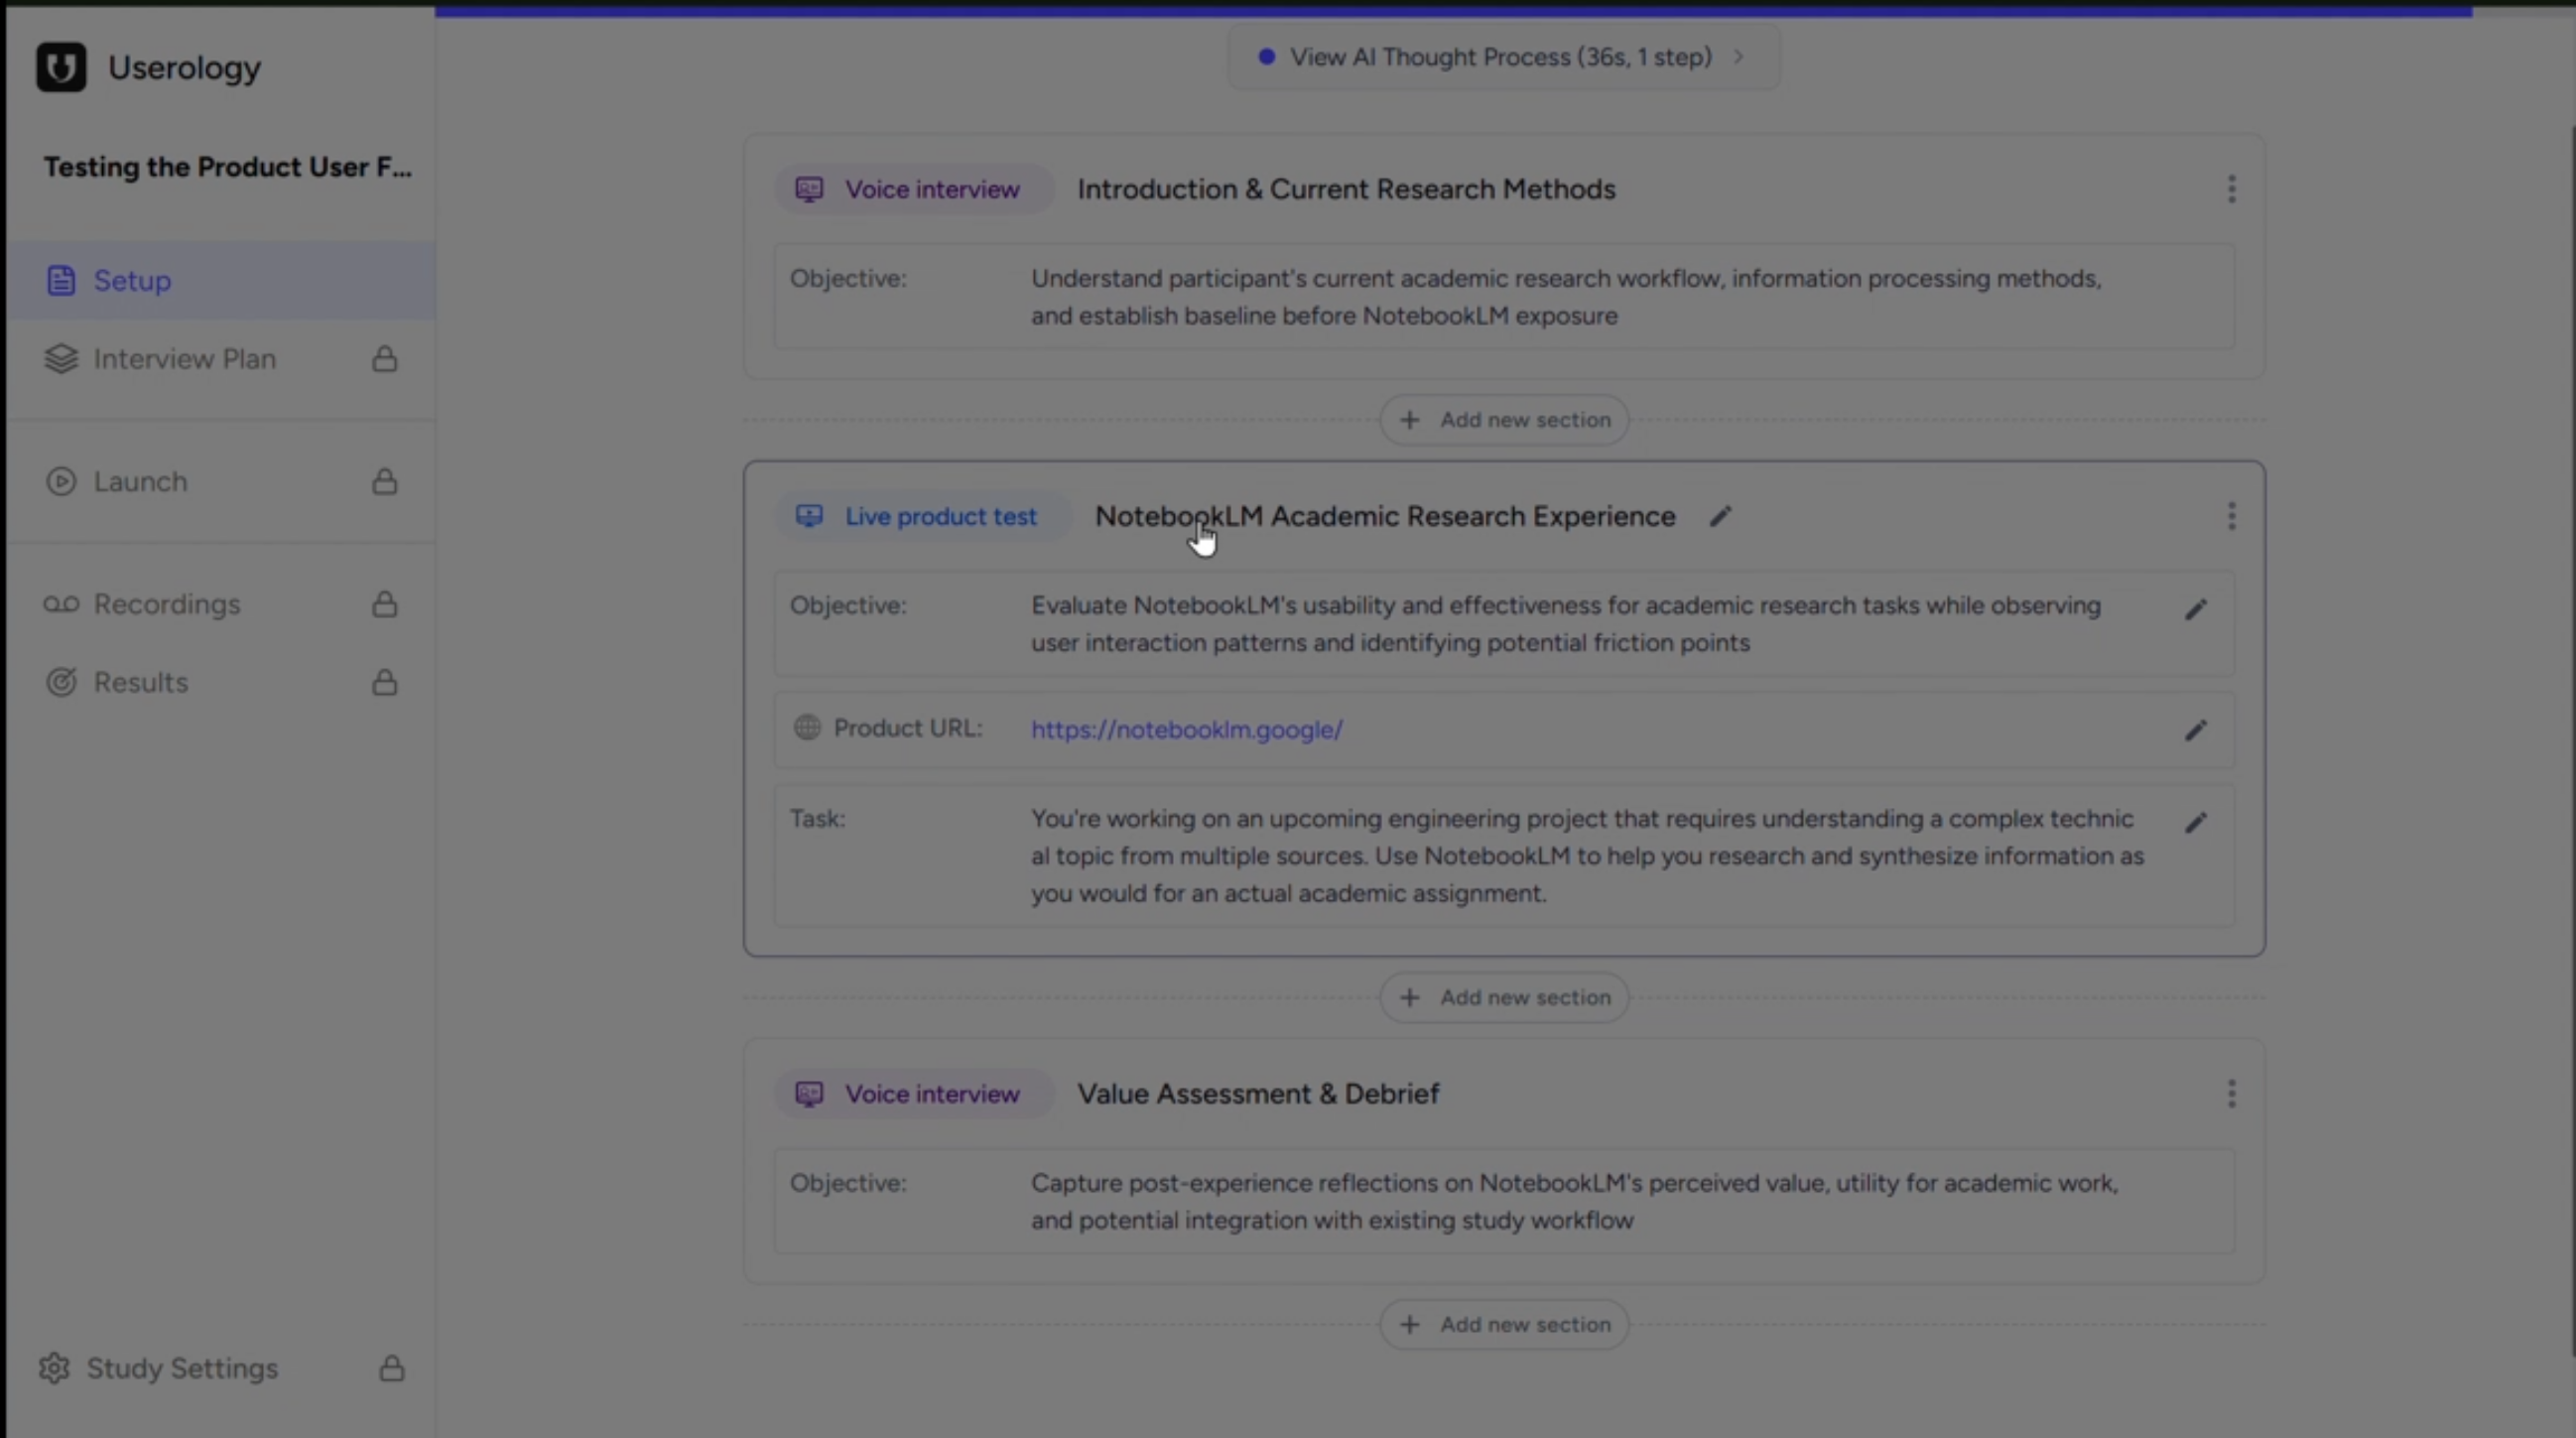
Once processing is complete, the AI proposes a modular session structure based on your inputs.
Generated Modules (Example):
Voice Interview: "Introduction & Current Research Methods" — Context setting with the participant.
Live Product Test: "NotebookLM Academic Research Experience" — The core task where participants interact with your product.
Voice Interview: "Value Assessment & Debrief" — Closing feedback and reflections.
Edit Options:
Edit (pencil icon) — Click to modify section names or descriptions.
Delete (trash icon) — Remove sections you don't need.
Move — Drag and drop sections to reorder them.
Add Section: A + Add new section button appears between modules, allowing you to insert additional research segments wherever needed.
When you're satisfied with the structure, click Generate Interview Guide.
Phase 5: The Interview Plan Editor
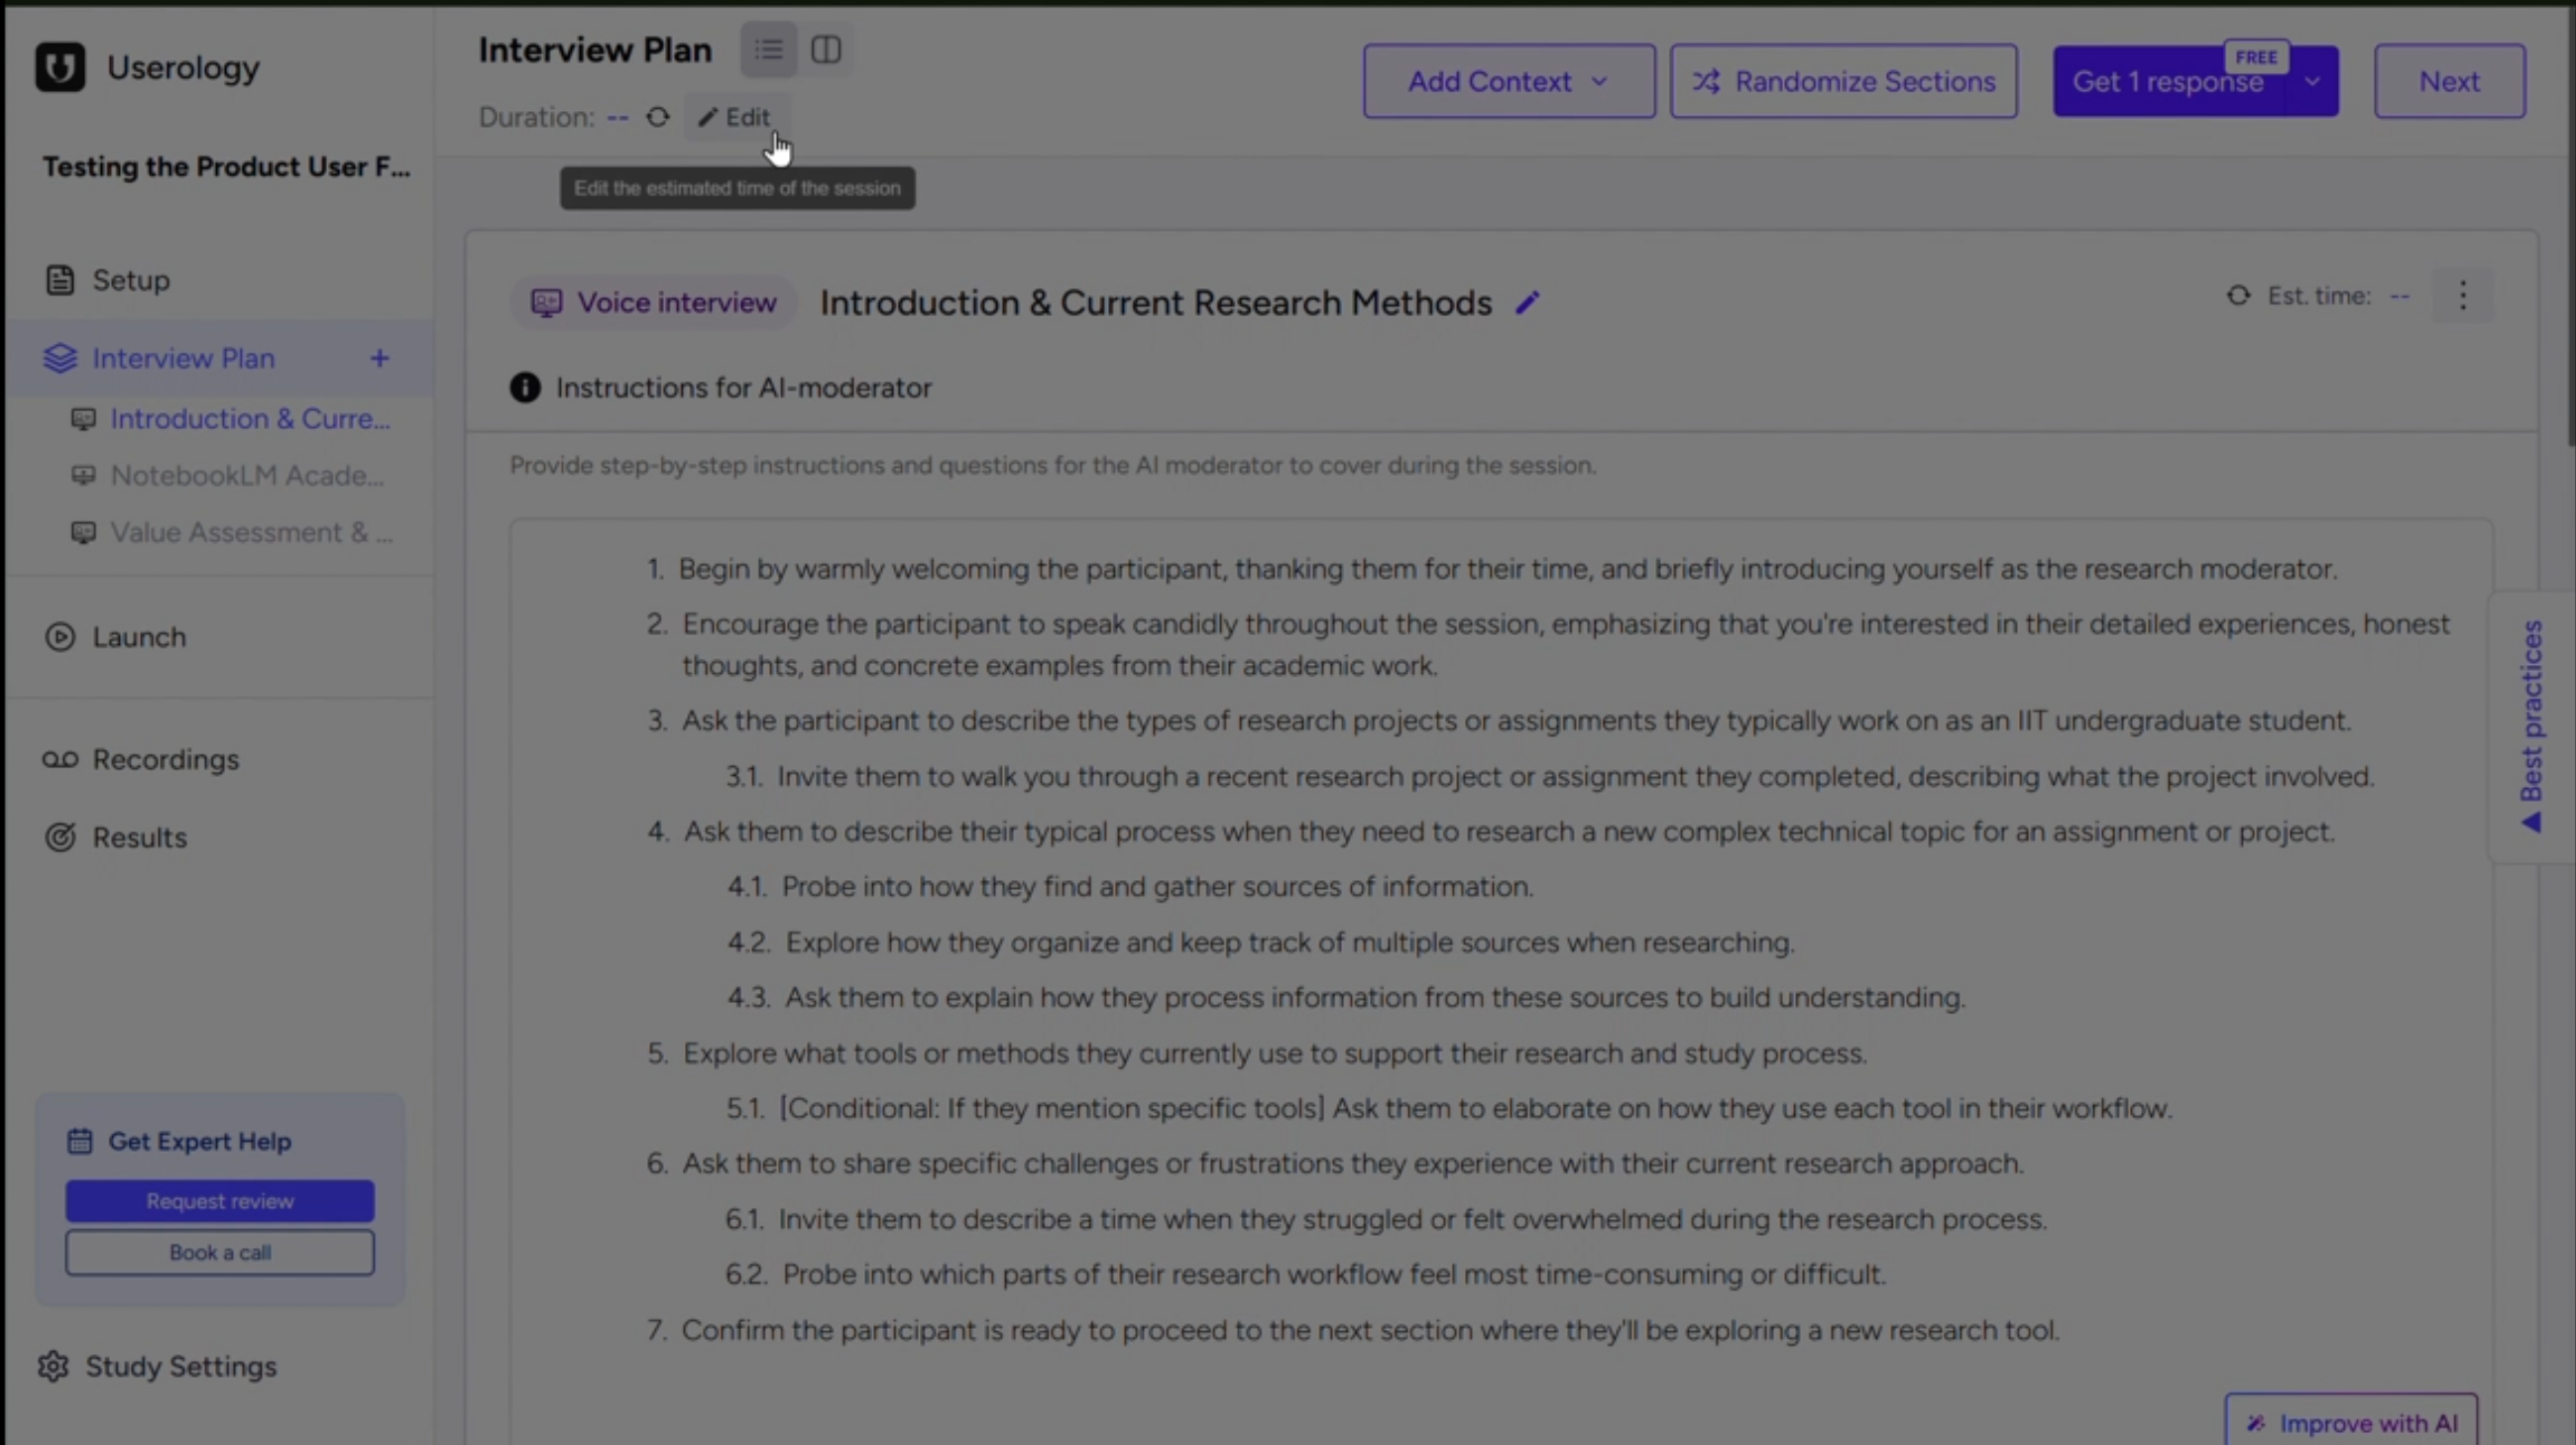
Step 7: Refine the Guide
You'll land on the main Interview Plan tab. The sidebar navigation shows all available sections:
Setup — Configure AI moderator settings, device requirements, and more
Interview Plan — Edit your discussion guide (current view)
Launch — Preview and recruit participants for your study
Recordings — Access session recordings
Results — View analysis and insights
AI Content: The AI has generated detailed specific questions and instructions for each section of your interview. For example:
"1. Begin by warmly welcoming the participant and thanking them for their time..."
Toolbar Options:
Add Context — Provide more info to the AI to improve the generated questions.
Randomize Sections — Shuffle the order of tasks to reduce order bias in your research.
Get 1 response — A dropdown menu to test your study (see Phase 6).
Section Controls:
Improve with AI — A button on specific sections to refine questions automatically.
Task Setup — For the "Live Product" section, you can view and edit the "Product URL" and "Instructions for participants" fields.
The guide is fully customizable — adjust questions, modify rating scales, add or remove items, and reorder content to match your research needs.
Phase 6: Simulation (Participant View)
Step 8: "Test Yourself" Flow
Before launching to real participants, preview exactly what they will experience.
Action: Click Get 1 response → Test Yourself.
This opens the participant experience in a new browser tab.
Participant Onboarding (New Tab)
The participant goes through the following steps before the interview begins:
Welcome Screen — Displays "Welcome!" and the estimated session time (e.g., "22-47 minutes").
Identity — Participant enters their Preferred Name in a text field.
Tech Check & Permissions — Two parts:
- System Check: The system verifies access to Microphone Access, Screen Share, and Camera Access.
- Hardware Selection: Dropdown menus allow participants to select their preferred Microphone, Speaker, and Camera.
Legal — Checkbox to agree to "Userology's terms and conditions".
Start — Participant clicks "Start Session" to begin the AI-moderated interview.
Why this matters: Testing the flow yourself helps you catch any issues with instructions, timing, or question clarity before real participants see them.
If you have any questions or need further assistance, feel free to reach out to us at support@userology.co.in. Happy researching!
Was this article helpful?
Thank you for your feedback!